
Sunday, September 29, 2013
Building the finish

Saturday, September 28, 2013
Pore filling

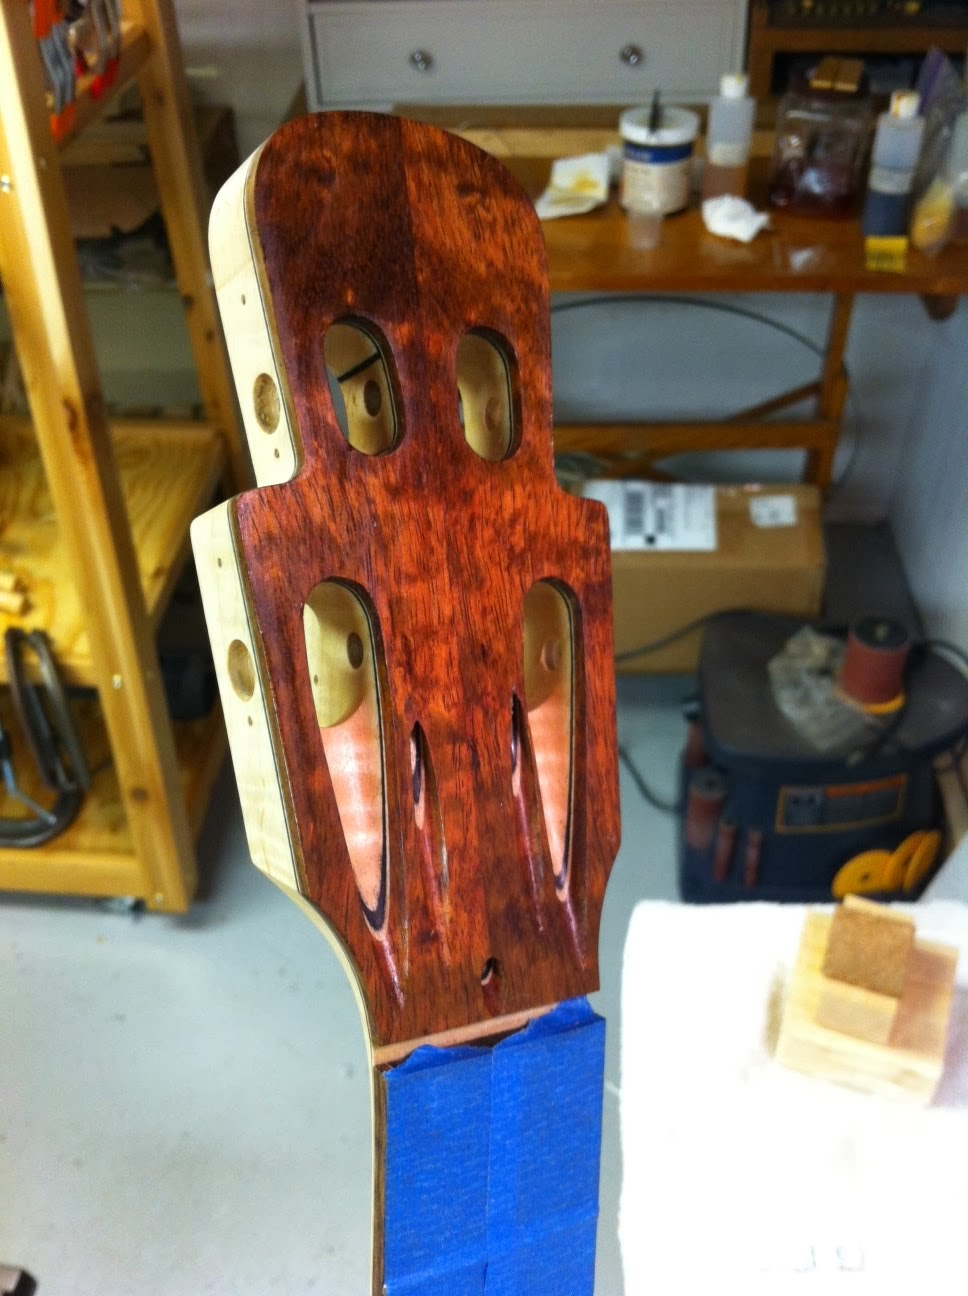
Here is the state after a seal coat of shellac on top of the boiled linseed oil; one coat of epoxy smeared into the--uh--low spots, dried, and scraped and sanded back; and a second coat of epoxy applied. Not shown: my feet covered in epoxy shavings after scraping the first coat. It's such a shame to see that wet shine knocked down, but it has to be done!
Thursday, September 26, 2013
Finishing


Sunday, September 22, 2013
Leveling and dressing the frets
I probably could have let this go, but to make absolutely sure the frets were in top notch condition, it was time to level and dress the frets. First, creating flats with one file and removing scratches with the same file riding sandpaper:

The angled files were used to deepen the bevel on the fret ends.

After restoring roundness using another file and more sandpaper:

Tools for dressing the fret ends and sanding the board and frets (not the crayons):

It's looking pretty good to me. Final sanding and finishing are all that's left!

Wednesday, September 11, 2013
Side dots


Wednesday, September 4, 2013
Progress update
My todo list is dwindling as shop time of late resulted in the completion of several tweaks, repairs, and steps to prepare for finishing.
Back on the bench, ready for all kinds of surgery (and a replacement tooth):
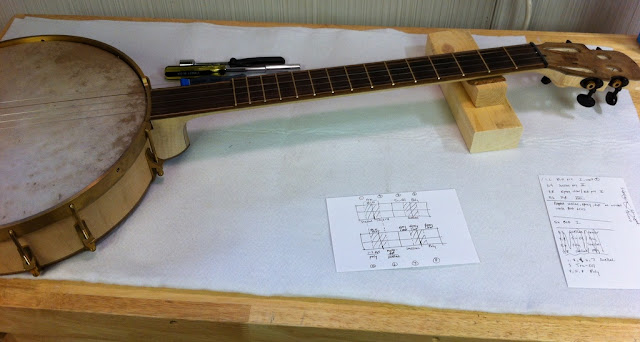
Clamped to the neck carving rail (complete with its now solid base) for a bit of wood removal and shaping.

A couple weeks ago I had my proudest builder moment other than the first notes when hours of calculating and working on the heel cut jig resulted in a perfectly aligned neck and perfect string action in one shot. Fists were pumped. Shouts of exhilaration were (m)uttered. As it happened, I took a conservative first cut, thinking I'd double check my thinking and setup before trying to take it all the way, but a mistake in the setup took it all the way unexpectedly and it came out great. When does anything work out that way?! The result was a better looking and more playable instrument. Check and check.
Finish tests continue in order to figure out how to blend the color of the neck and rim and to decide what pore filler and finish I want to use. After tonight there are only two more tasks standing ahead of finish application! Installing side dot position markers and leveling and polishing the frets.
Here is a fun little tool I made tonight to move the peghead through-holes.

None of the three remaining through-holes allowed a straight string path from the nut to the tuner post without rubbing a little. This needed correcting just in case it was hindering tuning at all. I started filing with the needle files, but that wasn't getting me anywhere. I needed a tiny chisel or gouge if I was ever going to finish. I rooted around in the tools to no avail. It was time to sacrifice a 75-cent file. First I bent the handle for a better angle. Then out came the Dremel with a cut-off wheel to remove the tapered end. After a little grinding on the disc sander and mild sandpaper sharpening, it was good to go. It worked. What would you call that, a mini bent-handle plow chisel?

Back on the bench, ready for all kinds of surgery (and a replacement tooth):

Clamped to the neck carving rail (complete with its now solid base) for a bit of wood removal and shaping.

A couple weeks ago I had my proudest builder moment other than the first notes when hours of calculating and working on the heel cut jig resulted in a perfectly aligned neck and perfect string action in one shot. Fists were pumped. Shouts of exhilaration were (m)uttered. As it happened, I took a conservative first cut, thinking I'd double check my thinking and setup before trying to take it all the way, but a mistake in the setup took it all the way unexpectedly and it came out great. When does anything work out that way?! The result was a better looking and more playable instrument. Check and check.
Finish tests continue in order to figure out how to blend the color of the neck and rim and to decide what pore filler and finish I want to use. After tonight there are only two more tasks standing ahead of finish application! Installing side dot position markers and leveling and polishing the frets.
Here is a fun little tool I made tonight to move the peghead through-holes.

None of the three remaining through-holes allowed a straight string path from the nut to the tuner post without rubbing a little. This needed correcting just in case it was hindering tuning at all. I started filing with the needle files, but that wasn't getting me anywhere. I needed a tiny chisel or gouge if I was ever going to finish. I rooted around in the tools to no avail. It was time to sacrifice a 75-cent file. First I bent the handle for a better angle. Then out came the Dremel with a cut-off wheel to remove the tapered end. After a little grinding on the disc sander and mild sandpaper sharpening, it was good to go. It worked. What would you call that, a mini bent-handle plow chisel?

Wednesday, August 21, 2013
Refinishing tables
We have various tables around the house whose tops are fading fast. The time came to do something about it. In order to do it in the house with the least amount of sanding, no stripping, and something easily repaired or stripped later, my weapon of choice is shellac. I got some buttonlac from shellac.net, which is supposedly the toughest form of shellac for a high wear, high water application. The bad thing about it is it has a ton of wax content, which I removed by trickling through two coffee filters. It takes all night to filter eight fluid ounces of solution that way, and then you end up with about 4 ounces.
The idea was to use padding lacquer, which is really shellac with lacquer thinner and some kind of oil for wiping lubrication in it. I would use that to burn into the existing lacquer finish (on the dining table) and then build shellac from there. Of course I had to mix my own to make sure it was fresh, and then I had to waste a bunch of money on additional resins to try to add durability.
Here's all the stuff. See all that wax in the bottom of the shellac jar?


In the end I never really figured out the padding lacquer application technique, which is different than French polishing or just plain wiping, but still requires vigorous rubbing. I used 10% acetone to burn into the lacquer a little bit, but after failed experiments with the full concoction with mineral spirits lubrication on the end table, I backed off to straight shellac plus a small percentage of Paraloid B-67 for the dining table. The technique I used was just plain padding as described by Jeff Jewitt in his books. Basically you make a fist full of cotton, pour shellac on it, wipe in straight strokes, and repeat until it starts to stick. Then you wait half a day, sand, and do it again. Repeat until it looks like you want. It works for me.
First, a faded end table to practice on:

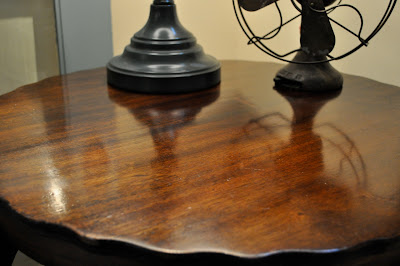
It came out pretty good after brushing one coat, wiping three more, wet sanding with 400 and 600, and rubbing out with steel wool and paste wax.
Then on to the dining table. First a good two-step cleaning:

Here's the bare state:


Here's all the gear for sanding and finishing:

 After the first wet coat was brushed on:
 With all the finish on after building with the wiping pad:

 And rubbed out with steel wool and paste wax:

 I could have spent more time sanding, but it came out fairly smooth with all the patina intact and much improved color. Mission accomplished. We'll see how long it lasts.
EPILOGUE: About four days. That's how long until a hot dish (on a pad) burned through and melted a nice pattern in an 8" square area.
The idea was to use padding lacquer, which is really shellac with lacquer thinner and some kind of oil for wiping lubrication in it. I would use that to burn into the existing lacquer finish (on the dining table) and then build shellac from there. Of course I had to mix my own to make sure it was fresh, and then I had to waste a bunch of money on additional resins to try to add durability.
Here's all the stuff. See all that wax in the bottom of the shellac jar?

Mixing up the buttonlac:

In the end I never really figured out the padding lacquer application technique, which is different than French polishing or just plain wiping, but still requires vigorous rubbing. I used 10% acetone to burn into the lacquer a little bit, but after failed experiments with the full concoction with mineral spirits lubrication on the end table, I backed off to straight shellac plus a small percentage of Paraloid B-67 for the dining table. The technique I used was just plain padding as described by Jeff Jewitt in his books. Basically you make a fist full of cotton, pour shellac on it, wipe in straight strokes, and repeat until it starts to stick. Then you wait half a day, sand, and do it again. Repeat until it looks like you want. It works for me.
First, a faded end table to practice on:

It came out pretty good after brushing one coat, wiping three more, wet sanding with 400 and 600, and rubbing out with steel wool and paste wax.


Here's the bare state:


Here's all the gear for sanding and finishing:


EPILOGUE: About four days. That's how long until a hot dish (on a pad) burned through and melted a nice pattern in an 8" square area.
Subscribe to:
Posts (Atom)