Sunday, December 1, 2013
Next
The holiday weekend afforded some time to start on a new neck. This one is walnut scarf joint construction.
Tuesday, November 26, 2013
Final photos of the build
This wraps up the construction and finishing phase of the project. Now on to a lifetime of tinkering with it!
Credit: Monica Hoover (Working indoors with late November natural light and no tripod. I think they're great.)
Sunday, November 3, 2013
Friday, October 25, 2013
(So close to) DONE
Last night I rubbed out the finish with P600, P800, and 0000 steel wool and paste wax and got the banjo back together again. It was only a couple months torn down, but it felt like I hadn't played in forever!
I love the satin look.
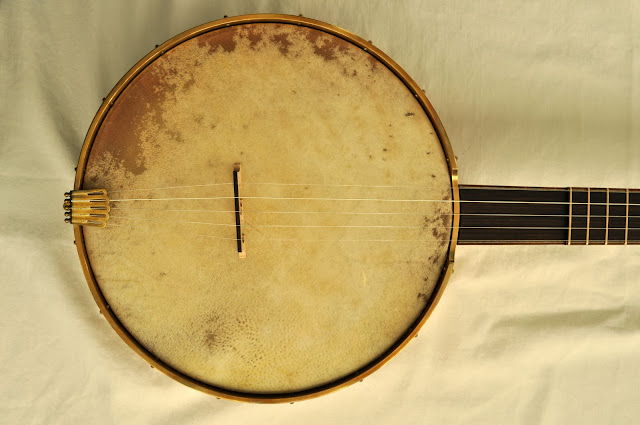
I had one very big surprise during assembly. The head had shrunk beyond belief, which meant I still can't use my nice set of Rickard brass hooks and nuts. So for now it's assembled with the extra long steel hooks. I think the fix is going to be a new head with a higher crown. Then I can assemble again with the hardware it was designed for, and then it will be really done.
But as of this moment the hard work is all done, and I am completely thrilled with how it came out. Here's a set of phone pics. We'll make some better ones with a real camera once the head/hardware issue is sorted out.
Oh, and somehow it sounds better than ever, too. I'm not sure why. Maybe the tailpiece is more solidly connected due to one change I made with its bolt mounting bracket.
Finishing the hardware
Earlier this week I wrapped up shaping and polishing all the brass hardware.
It all started with this remote setup in the hotel on a work trip as I rounded all the bracket edges with the sanding drum and started hand sanding with P220:
All parts sanded to P600:
By the way, the tailpiece is a Fielding, the only commercial part shown here. It was starting to patinate from use, so I put it through the process here to make it look the same as the rest of my stuff.
All parts polished with Tripoli compound. The first picture shows before and after:
After a good dunking in brass darkening solution:
Scuffed up with a gray abrasive pad to even out some dark patches in the color (this actually took off most of the color altogether):
Rubbed with 0000 steel wool and paste wax and assembled on the banjo:
Sunday, October 13, 2013
The finish is on
Here are a few pics in the process of paying for not sanding well after the first coats and a final pic with the finish on. The fretboard is polished and everything is hanging to cure while I polish hardware.
Sunday, September 29, 2013
Building the finish
After two sessions of padding shellac (and brushing around the peghead). There are only a couple more to go.
Saturday, September 28, 2013
Pore filling
More like "gouges left from ripping tape off of delicate veneer" filling. The Koa parts have actual pores, though. Thankfully the neck is level and does not need this.
Here is the state after a seal coat of shellac on top of the boiled linseed oil; one coat of epoxy smeared into the--uh--low spots, dried, and scraped and sanded back; and a second coat of epoxy applied. Not shown: my feet covered in epoxy shavings after scraping the first coat. It's such a shame to see that wet shine knocked down, but it has to be done!
Here is the state after a seal coat of shellac on top of the boiled linseed oil; one coat of epoxy smeared into the--uh--low spots, dried, and scraped and sanded back; and a second coat of epoxy applied. Not shown: my feet covered in epoxy shavings after scraping the first coat. It's such a shame to see that wet shine knocked down, but it has to be done!
Thursday, September 26, 2013
Finishing
Things are heating up. After taping off the fretboard and sanding for an inordinate length of time, I got a coat of oil wiped on to darken and blend the color.
Sunday, September 22, 2013
Leveling and dressing the frets
I probably could have let this go, but to make absolutely sure the frets were in top notch condition, it was time to level and dress the frets. First, creating flats with one file and removing scratches with the same file riding sandpaper:
The angled files were used to deepen the bevel on the fret ends.
After restoring roundness using another file and more sandpaper:
Tools for dressing the fret ends and sanding the board and frets (not the crayons):
It's looking pretty good to me. Final sanding and finishing are all that's left!
Subscribe to:
Posts (Atom)


